Monday, 4 August 2014

hi
Sorry it's been so long since I last posted. I have been on two retailer training events since last posting. We had a great time at Woodware and then I had a session with cosmic shimmer products at creative expressions. I'll show you the pictures of the projects done on next posting (no pictures yet - thought I'd done them but apparently haven't so need to wait till I go back down to the shop). After these we had our village summer fayre which I was heavily involved in but now that's gone I did have last week being able to do some cards again.
I have been working with the latest set of stamps from Creative Stamping - Cafe Riviera. Still more to do as not so happy with some of the ideas but this is what I have tried so far,
 sorry not a brilliant picture - was 3rd attempt! but you should be able to get the idea. Come into the shop to view them or book for the workshop- all day on 19th August and pm on 26th.
We have multibuy offers on in the shop this week to make room for Christmas stock so do pay us a visit if you are local.

Thursday, 10 July 2014

This week I've been working with some new papers and bargain packs I got from Craftstyle. I have used them with the Cordoba die and I also opened the classic rose  from Sue Wilson collection. These will form part of the "All sorts of Flowers " workshop.


This workshop will look at die cut flowers cut with dies and precut sheets as on RH side below

  as well as  stencil flowers - zentangled and stencilled colour

stamped images - although I'm not entirely happy with these and need to do some more with these stamps

 
 I have also included peel off flowers although these are from an old board

Sunday, 6 July 2014

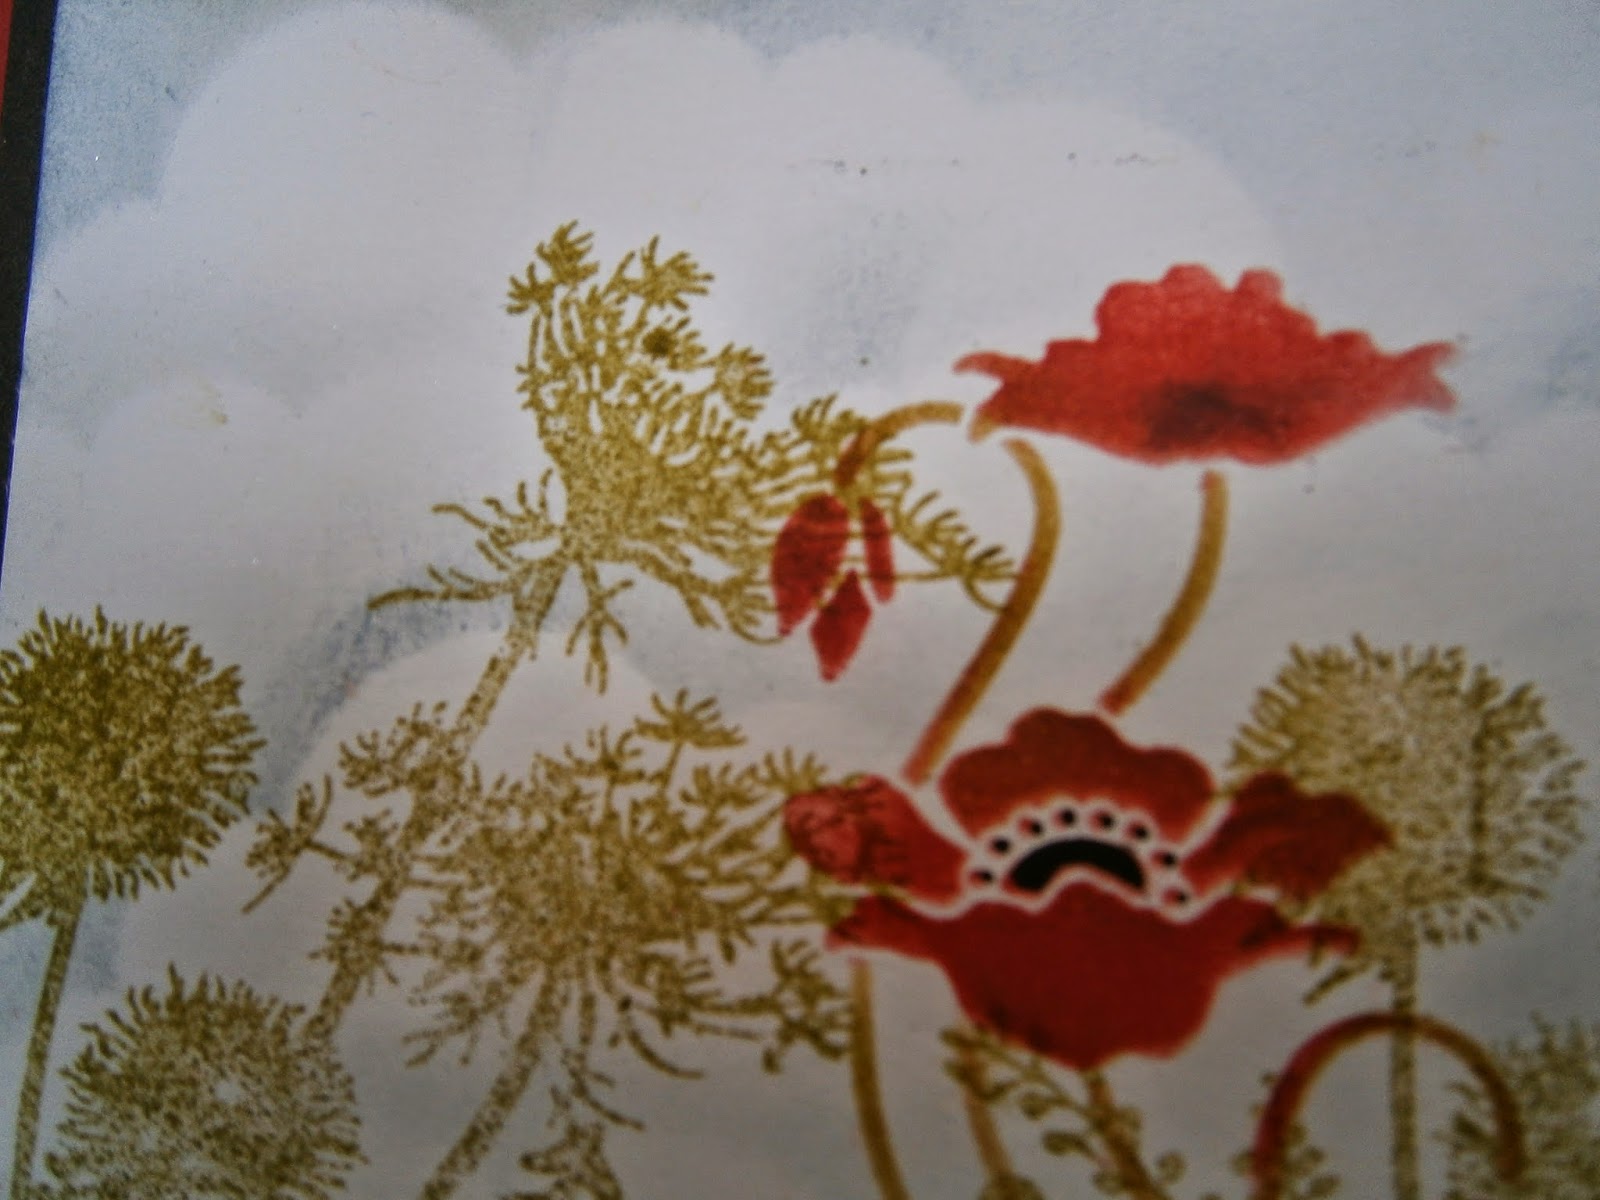
The Poppy - A Time to Remember


Tape stencil (LL3023)  to strip of card and emboss with regular paste. Leave to dry then apply stencil again and apply colour with brushes from inkpads with a rouging method. Add clouds using the Picasso tool (LL332) and blue ink.


On a square of card stamp some of Jane’s grasses. (any will do this one is JGS272) Two images will be needed to cover the card, try to position so there isn’t a gap. You need a faint image so use second impression stamping (as I did with the black grasses) or a paler ink (I used peeled paint distress ink on the green card).
You do NOT want a perfect image – a few gaps are best so that the poppy will fill the spaces.

Place stencil over gaps in grasses and ink through the flowers and a bit of the stalk. Clean stencil after each colour so that it doesn’t transfer. Move about until you have poppies scattered all over the field. Use a micron pen for the small black dots. Add a touch of black to base of poppy heads.


Make a hinged card with the full stencil image mounted on the hinge and fix the mounted square to the open part of the card.


An alternative version was in black and red. The black needs to be second impression stamping so that it is not too bold. This time I used JGS273


On the black card I went over the dried images with versamark and clear embossing powder – both in the field and on the side panel.


Why not visit the Woodware Blog to see what the girls have come up with?
Woodware Blog Woodware Blog

Saturday, 5 July 2014

The Poppy
Just some more ideas. I have set full instructions for the Poppy which will appear on Woodware's blog on Sunday but here are some more ideas


This one is the Dreamweaver Tall poppy. I used green paste and then glitter on top


 This one is a Woodware stamp stamped in white then coloured although that doesn't seem to be showing up well. The same poppy head is used as the small flower head below but also Woodwares large single poppy/


I used the stencil again here on a cross card thinking of " in memorium" - have wondered about putting the central oval onto plain wood effect card thinking of the crosses we get with a poppy in the middle

Then finally I used the spellbinders poppy die cut against adistress ink background

Sunday, 29 June 2014

This week I have been working on some ideas for the "Holiday Time" workshop.
The lighthouse stencil LM163 I just used regular paste with then coloured. The sandcastle was gold paste then aged gold embossing enamel on top and heated.
I then used two stamps from Woodware on the other 2 cards FRS244 country fields coloured with Sakura pens and FRS261 - the flip flops. The sunhat is a Joy crafts die.
  then I started to look at stamps I'd used in the past and found these cards to add to the Holiday selection.
Those who come to workshops know I like to have plenty of choice for you
 Next week it will be "The Poppy - in remembrance" and some more assorted flowersThe Poppy

Thursday, 19 June 2014

This week I've been working on the cards for babies using the JOY baby clothes dies and the crafts too baby feet embossing folder. I must admit these were inspired by the cards we had seen on the Crafts Too stand at the NEC where I fell in love with the dies - I seemed to be lacking inspiration after my holiday where the only inspiration came for my poppy cards but they will be shown later since I need to use one for the Woodware blog first.
Anyway back to the baby cards

These are some older cards that fit the theme. The tractor set is by Stampendous


While covering the shop Val did this lovely card using The Marianne Anja...... die

and Maureen did some Zentangle with this Dreamweaver stencil

Monday, 16 June 2014

Hi
The delay this time has been because I've been away on my holidays. We had a lovely time driving to Switzerland with stops and days at Bruges, Koblenz & Heidleberg then driving through the black forest to Switzerland where we saw my son and 3 month old grandson who is great.

Now I've been back a few days and working on some poppy themed cards which will be used for the Woodware blog in July so can't show you yet and some more on the Creative stamping 17  - "The Rose Garden". Workshops for this are this Wednesday 18th June (all day or half day) and the following Tues but that one is fully booked.
I have used some of the new pivot and accordian card dies for some of these cards and then my own "Tunnel squeezy" and a few other flatter ones which I am still working on.


I'll get some more to you in the next few days.

Thursday, 29 May 2014

Just a few more cards on the animal theme

The stencil owl was Sten tangled and we are going to do the elephant this way soon also. The unicorn is from stampendous and looks great with the powder additions (I have masked the horn on other cards to give a horse for versatility). The cats are Cheery Lynn dies amounted on  the dies and stamps from the Sue Wilson Spanish collection.
Everything else this week is only partially finished as I've been busy again.
More soon...

Monday, 26 May 2014

Hi
After a successful day 1 of our stencil course I got enthusiastic about playing with my stencils and so tried out some ideas which will form part of the summer workshops.
 Summer workshops (just published on my website) are theme based and so include a mixture of techniques - stamping, stencilling, die cutting etc. This can be seen on the MORE ANIMALS board  which I have included here although it is not yet complete. The fox and elephant are dreamweaver stencils, The horse is from Stampendous ( with a creative palette background) and the cats are Marianne dies.

Then I looked at some I can use in "A Woman's world", The apron from Dreamweaver comes as both a die and a stencil although I have only used the stencil here..


whereas here I have used both the stencil and die teacups. The first card is stencil only , the blue and pink uses both and the "you and me" card (done at a dreamweaver workshop so not my idea but I like it!) uses the die only.


I am also still working on other ideas for these two workshops and the creative stamping but I'll have to see how far I get after this weeks workshops. ( I am missing the extra time from being closed Sundays - hence the fact that I am now going down to the shop on this bank Holiday Monday!)

Friday, 16 May 2014

Hi
Sorry I haven't posted for a while (yet again you may think!). I've had another couple of days away - this is not normal for me! And then I've been sorting out the stencil course which starts on Tuesday . We are starting with matte pastes and the double glitter + technique. I have separated out the types of pastes and associated techniques so that it is not too much to buy at once for those who don't have the pastes. So the following one will be glossy pastes, then metallic pastes then specialty pastes.

We recently purchases an iPad so I've just tried taking pictures of some recent cards with it to see if easier than using camera but couldn't get it to work so I'm back with the laptop.

There are a couple of variations here done at a recent workshop with the new Sue Wilson dies - this one is Cordoba (Spanish collection)  with the new flowers and leaves from creative expressions.
The basic idea is the same (I showed a purple one before) but they all look so different.


I have also started working with the stamps from Creative stamping 17 - The Rose garden but not entirely satisfied with them at the moment hence no pictures yet. 

I will try to post again next week (at least once a week is my aim)