
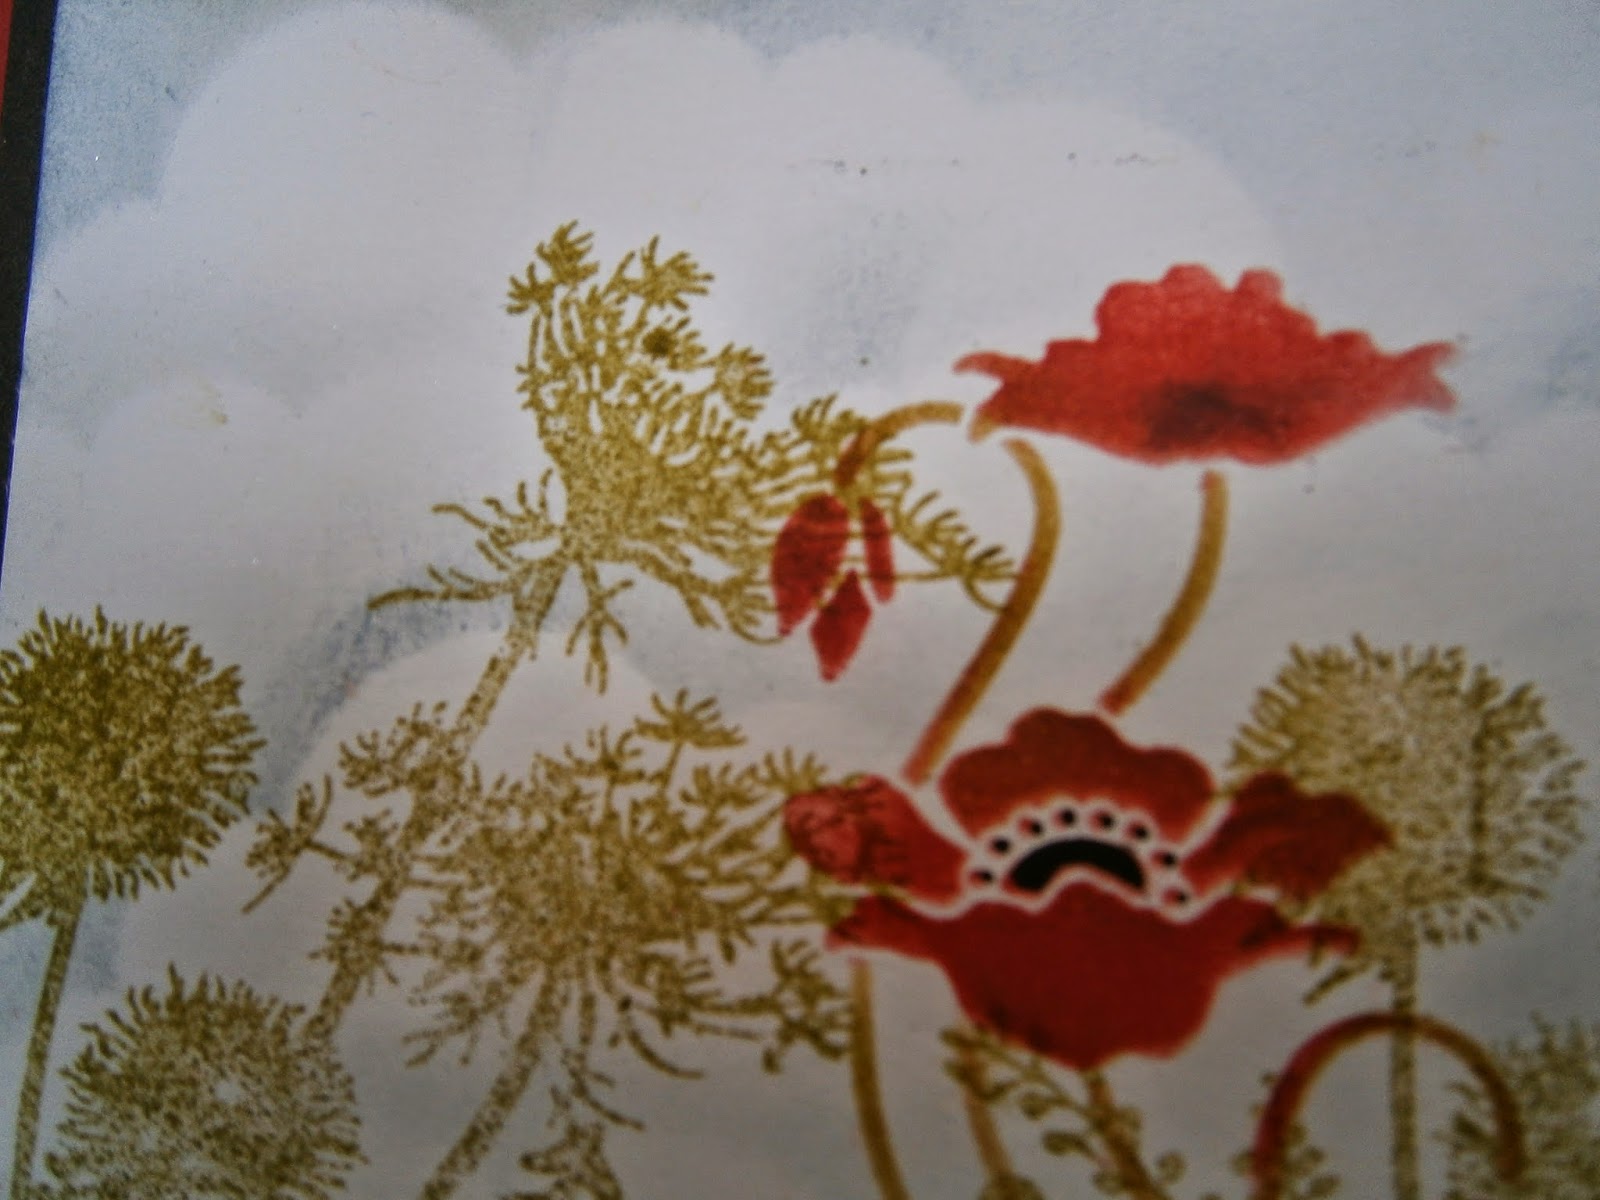
Tape stencil (LL3023) to strip of card and emboss with regular
paste. Leave to dry then apply stencil again and apply colour with brushes from
inkpads with a rouging method. Add clouds using the Picasso tool (LL332) and
blue ink.

On a square of card stamp some of
Jane’s grasses. (any will do this one is JGS272) Two images will be needed to
cover the card, try to position so there isn’t a gap. You need a faint image so
use second impression stamping (as I did with the black grasses) or a paler ink
(I used peeled paint distress ink on the green card).
You do NOT want a perfect image – a
few gaps are best so that the poppy will fill the spaces.
Place stencil over gaps in grasses
and ink through the flowers and a bit of the stalk. Clean stencil after each
colour so that it doesn’t transfer. Move about until you have poppies scattered
all over the field. Use a micron pen for the small black dots. Add a touch of
black to base of poppy heads.
Make a hinged card with the full
stencil image mounted on the hinge and fix the mounted square to the open part
of the card.
An alternative version was in black
and red. The black needs to be second impression stamping so that it is not too
bold. This time I used JGS273

On the black card I went over the
dried images with versamark and clear embossing powder – both in the field and
on the side panel.

Woodware Blog Woodware Blog
No comments:
Post a Comment