I've been doing bits of MDF decorating over the last few weeks but decided to have a go at finishing a number off. The paints and decoupage sheets were from "Vintage Chic" by Debbie Moore, The crackle paints etc and mdf shapes were from creative expressions. ( although the wooden box is from Woodware)
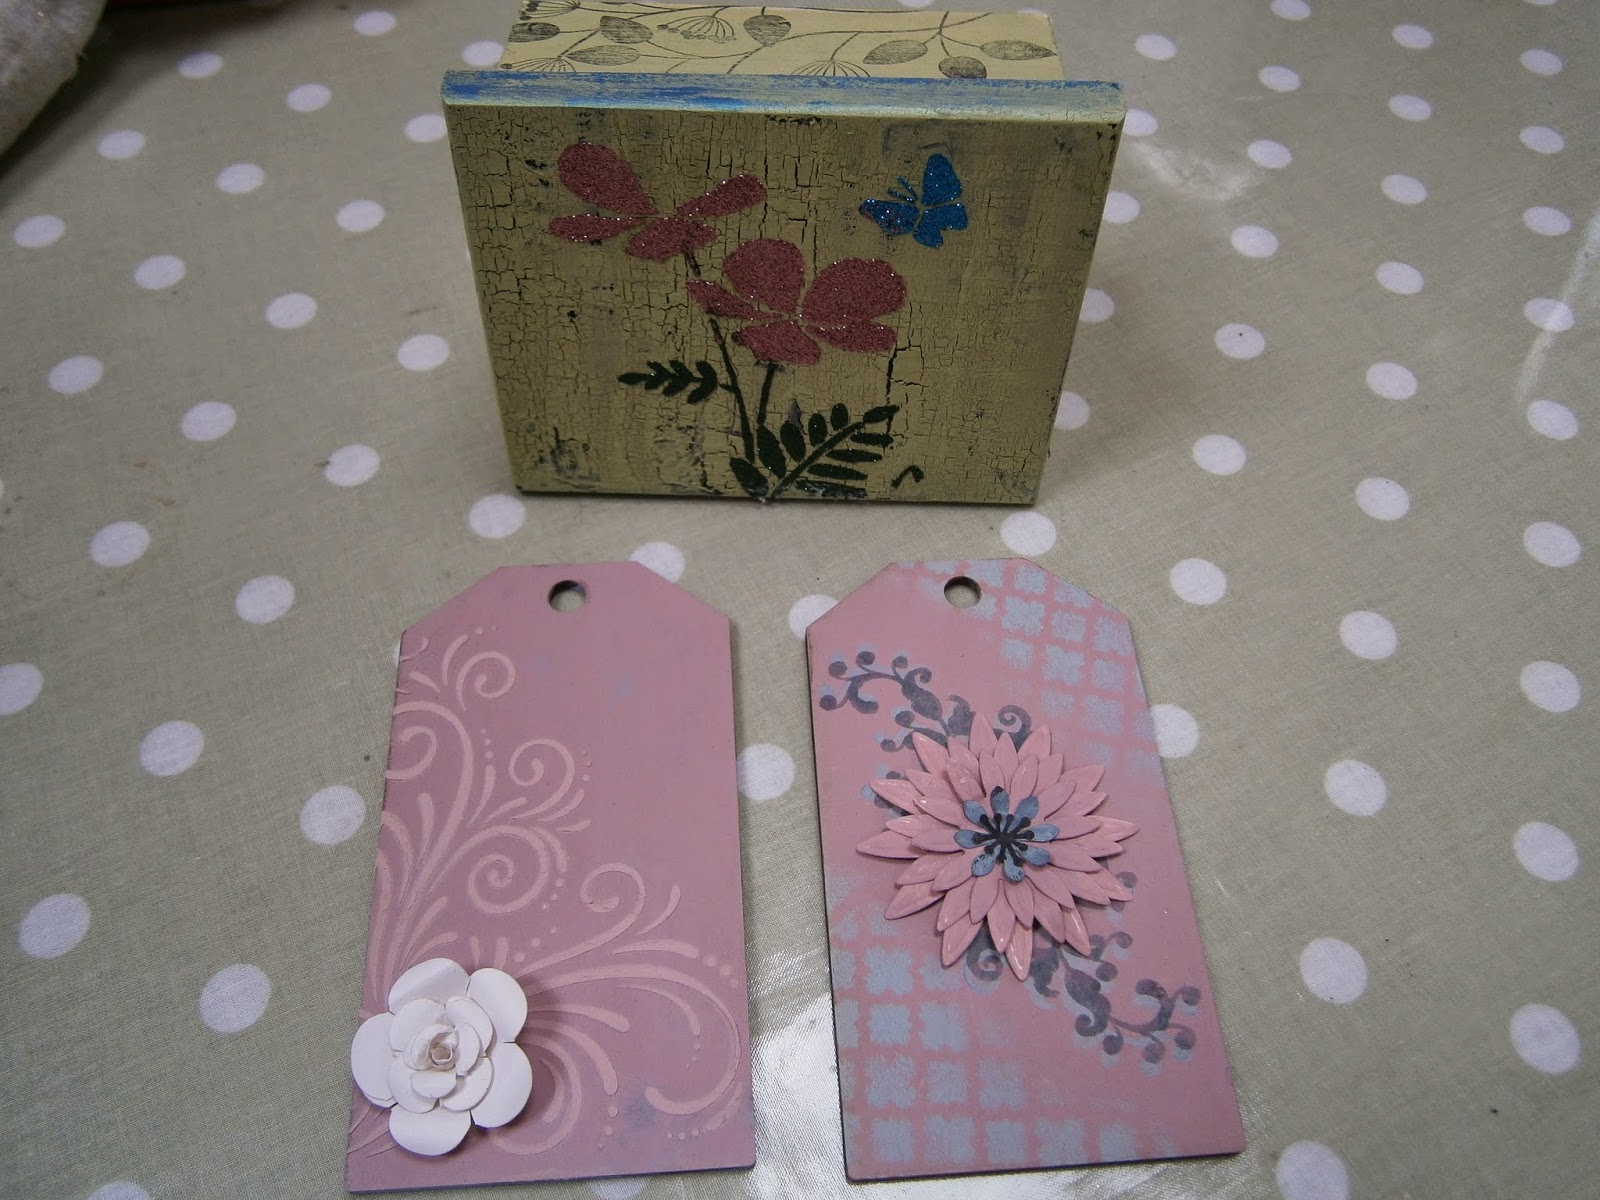
The one above is crackle using cosmic shimmer products and clarity stamp.
The one below mixed the chalk paint with dreamweaver's regular embossing paste to give a lighter shade when used over the dreamweaver stencil
Below I have used the psint through a mask and then stamped with it to give a shadow to the stampedimage. I then used the Lea-bility daisy over it
Below shows trying different effects on the top of my distress ink storage boxes. The top one is just sanded the one below used the cosmic shimmer crackle glaze with the Vintage chic paints. It didn't work quite so well as with the cosmic shimmer paints on the blue tag above